I sometimes use affiliate links in content. This doesn’t cost you anything but I may make a commission payment from anything you buy through these links. As an Amazon Associate I earn from qualifying purchases. All opinions remain my own.
In an increasingly fast-paced world, finding small ways to relax and unwind has never been more important. This is where essential oil candles come into play, seamlessly merging candlelight’s soothing glow with aromatherapy’s therapeutic benefits. Essential oil candles offer a natural, eco-friendly alternative to synthetic ones, providing various benefits for both health and relaxation.
When burned, these candles release subtle, calming scents that can help reduce stress, improve mood, and even aid in better sleep. The natural compounds found in essential oils have been shown to positively impact both mental and physical well-being, making them an ideal choice for those looking to enhance their self-care routine. Moreover, crafting your essential oil candles allows you to fully customize your aromatherapy experience, selecting the perfect blend of scents to suit your needs and preferences.
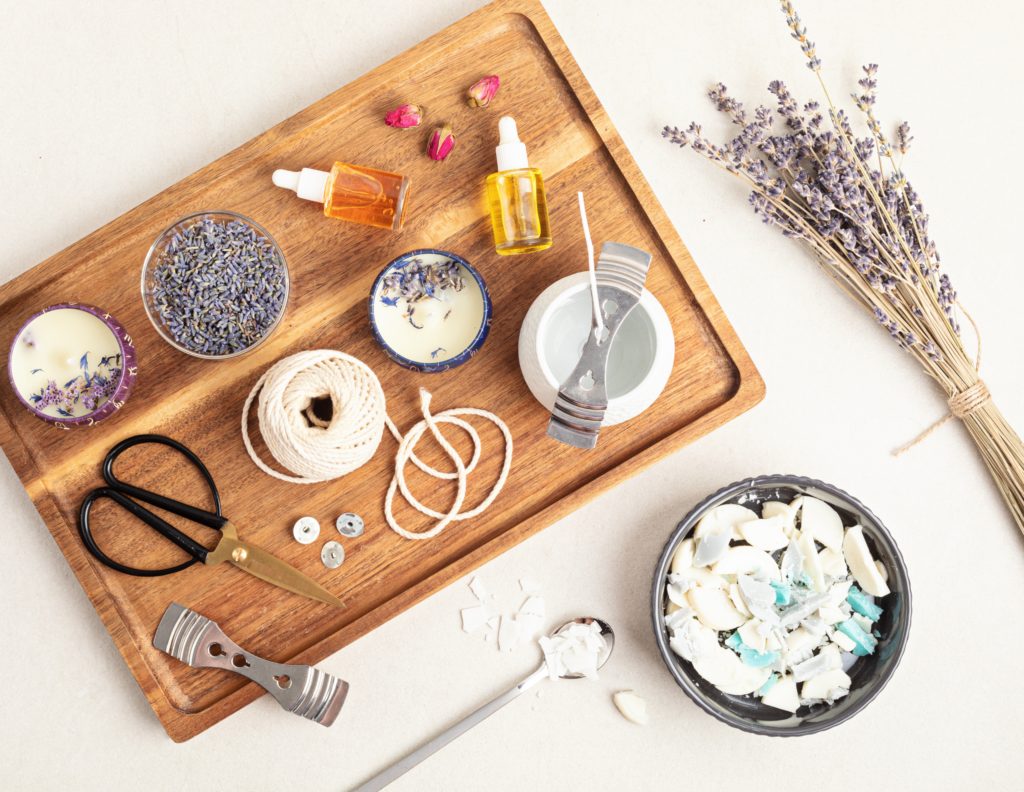
Table of Contents
Brief History of Candle Making and Its Resurgence in the DIY Community
Candle making dates back to ancient civilizations, with evidence suggesting that the Egyptians and Romans crafted candles from tallow and beeswax as early as 3000 BC. Over the centuries, candles have evolved from a basic necessity for light to a luxurious item used for ambiance and relaxation.
In recent years, candle making has resurged in popularity within the DIY community. This trend can be attributed to a growing interest in home crafts and a desire for natural, environmentally friendly products. People are increasingly turning to DIY projects as a way to express creativity, reduce stress, and create personalized items that reflect their unique tastes and values. Essential oil candles perfectly encapsulate this modern DIY spirit with their blend of artistry and wellness.
Overview of Essential Oils Commonly Used in Candles and Their Aromatherapy Benefits
Essential oils are concentrated plant extracts known for their aromatic and therapeutic properties. When used in candle making, they can impart a range of benefits, depending on the specific oils chosen. Here are some popular essential oils commonly used in candles and their associated aromatherapy benefits:
- Lavender: Known for its calming and soothing properties, lavender essential oil can help reduce stress and anxiety, promote relaxation, and improve sleep quality.
- Eucalyptus: With its refreshing, invigorating scent, eucalyptus essential oil is often used to relieve respiratory issues and enhance mental clarity and focus.
- Lemon: The bright, uplifting aroma of lemon essential oil is perfect for boosting mood, increasing energy levels, and purifying the air.
- Peppermint: Renowned for its cooling and revitalizing effects, peppermint essential oil can alleviate headaches, improve concentration, and provide a sense of refreshment.
- Chamomile: This gentle, floral oil is prized for its ability to promote relaxation and reduce symptoms of anxiety and depression. It’s also a great choice for those seeking a peaceful night’s sleep.
- Rosemary: With its invigorating, woody aroma, rosemary essential oil can stimulate the mind, improve memory, and boost mental clarity.
- Orange: The sweet, citrusy scent of orange essential oil is known for its mood-enhancing properties, helping to reduce feelings of stress and create a joyful atmosphere.
By understanding the unique benefits of each essential oil, you can create custom candle blends tailored to your specific needs and preferences.
Step-by-Step Guide on How to Craft Your Own Essential Oil Candles at Home
Creating your own essential oil candles at home is a rewarding and enjoyable process. Here’s a detailed guide to help you get started.
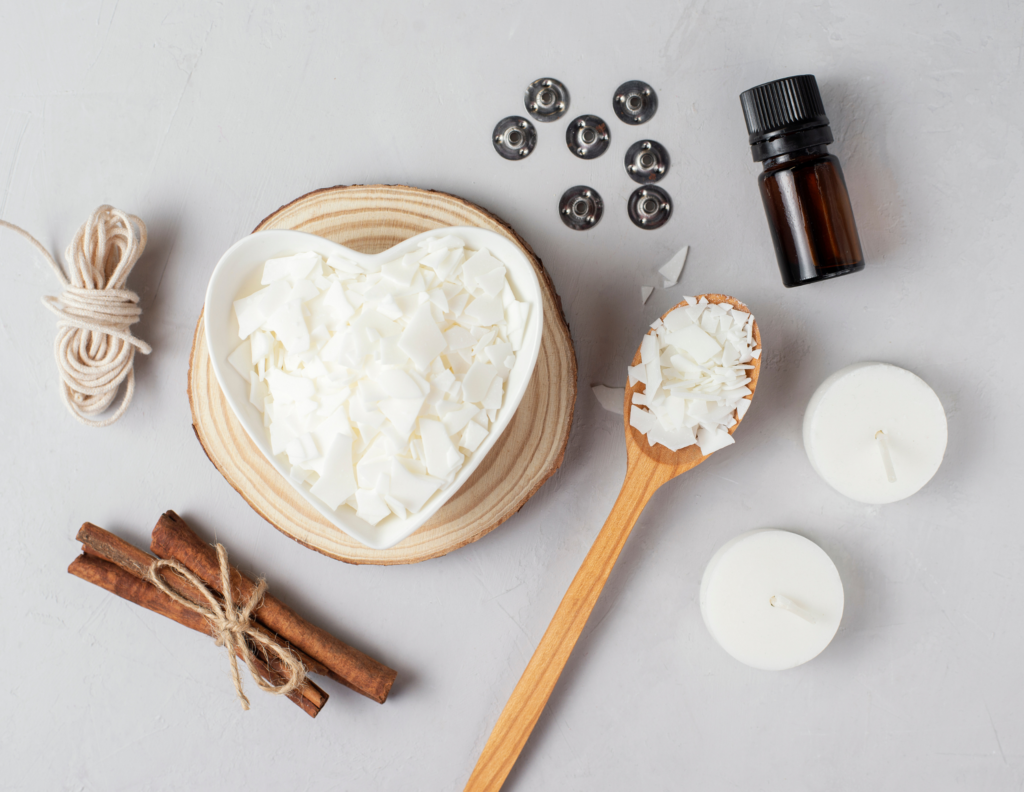
Materials Needed:
- Soy wax flakes (100% natural and eco-friendly)
- Essential oils of your choice
- Candle wicks
- Wick centering device (optional but helpful)
- Heat-resistant containers (e.g., glass jars)
- Double boiler or microwave-safe bowl
- Thermometer
- Stirring utensil (e.g., wooden spoon)
- Adhesive for securing wicks
Safety Precautions:
- Work in a well-ventilated area.
- Never leave melting wax unattended.
- Handle hot containers and wax with care to avoid burns.
Instructions:
- Prepare Your Containers: Start by securing the wick to the bottom of your heat-resistant container using adhesive. Ensure the wick is centered and stands upright. A wick centering device can help keep the wick in place as you pour the wax.
- Melt the Wax: Using a double boiler or microwave-safe bowl, melt the soy wax flakes. If using a microwave, heat the wax in 30-second intervals, stirring between each interval until fully melted. Use a thermometer to ensure the wax reaches a temperature of around 170-180°F (75-82°C).
- Add Essential Oils: Once the wax is melted and reaches the desired temperature, remove it from the heat source. Add your chosen essential oils, aiming for a ratio of approximately 1 ounce of essential oil per pound of wax. Stir thoroughly to ensure the oils are evenly distributed.
- Pour the Wax: Carefully pour the scented wax into your prepared containers, leaving a small space at the top. Ensure the wick remains centered and upright during this process.
- Cooling and Setting: Allow the candles to cool and set at room temperature. This process can take several hours, so be patient. Avoid moving the containers during this time to prevent any disturbances in the wax.
- Trim the Wick: Once the candles are fully set, trim the wick to about 1/4 inch above the wax surface. This will ensure a clean, steady burn.
Tips on Choosing the Right Essential Oils for Specific Needs and Proper Candle Making Techniques
Choosing the Right Essential Oils:
- Relaxation: Opt for calming oils like lavender, chamomile, and sandalwood.
- Energy Boost: Use invigorating oils such as peppermint, lemon, and eucalyptus.
- Mood Enhancement: Go for uplifting scents like orange, grapefruit, and ylang-ylang.
- Focus and Clarity: Choose oils like rosemary, basil, and eucalyptus to improve concentration.
Candle Making Techniques:
- Temperature Control: Maintain proper wax temperatures for adding oils and pouring to avoid issues like sinkholes or frosting.
- Stirring: Mix oils thoroughly into the melted wax for an even scent distribution.
- Testing: Perform a test burn to check for proper wick size and scent throw. Adjust your technique as needed.
Ideas for Personalizing Candles with Unique Scents and Designs
Making your candles unique adds a personal touch that sets them apart. Here are some ideas:
Unique Scents:
- Seasonal Blends: Create seasonal scents like pumpkin spice for fall or peppermint for winter.
- Custom Blends: Experiment with mixing different essential oils to create a signature scent.
- Layered Scents: Pour wax in layers with different scents for a multi-sensory experience.
Creative Designs:
- Colored Wax: Add natural dyes to your wax for a splash of color.
- Decorative Containers: Use vintage jars, teacups, or decorated tins as candle holders.
- Embedded Items: Include dried flowers, herbs, or crystals in your candles for an added aesthetic.

Conclusion
Crafting your own essential oil candles is not only a fulfilling and creative endeavor, but it also offers numerous benefits for your well-being. From promoting relaxation and reducing stress to creating a personalized aromatic atmosphere, DIY essential oil candles are a wonderful addition to any home. We hope this guide inspires you to embark on your candle-making journey and unlock the endless possibilities of scents and designs.
Ready to get started? Gather your materials, choose your favorite essential oils, and let your creativity shine. Happy crafting!